Showing posts with label diy. Show all posts

Friday, October 17, 2014

South Korea/Amazon Gift Haul

So, my husband's aunt travels to South Korea a lot and she got me all this stuff! Treats and some things from Amazon too. I thought I would share it with you.


 Above are two rolls (total of 8) hello kitty ribbon! Can't wait to make bows from it. I might put one on Sookie (one of my dogs.) Next to them are three big foam character stickers! Below the ribbon are press on phrases that come with a little stick you push on them against something and it comes off onto the material. One bag of glue sticks which I've already used an entire stick! Ha ha. This stuff is my crack. Below the glue sticks are dry eraser markers which I use EVERY DAY on my dry erase board. Finally, those green packs are Christmas cardboard lettering.


In the picture above is a butter waffle cookie, some pineapple cookies with cream inside, a cracker with chocolate on one side, some seaweed strips, and training chopsticks. First off all.... all of this is gone. Ha ha. A picture of the seaweed strips is below. I had these for the first time while visiting Hubbin's grandmother in N.Y. I'm so glad she threw one of these in. Yum. Yum. I've used and mastered the training chopsticks I'm glad to say and I've started using them without the little monkey (I call him Chow.)


Hubbin's doesn't like anyyyyy kind of seafood so I had these all to myself!


In the picture below she got me a little lipstick case, some nail art dotting tools, nail art brushes, nail art strips, and a little bag she got in South Korea. I ADORE the lipstick holder. It lives in my purse now. I'm so glad my favorite go to lipstick fits inside. The nail art items have their home in the little orange bag. I'm thinking of two new nail looks I want to do with these! I'm for sure doing a snowman for xmas. Ha ha. 


 Below are three pictures of the lipstick case including one with my favorite lipstick in it.

 Soooooooooo lovely.


 Finally, she got me this adorable and FUNNY bag! It's "engrish" The way you would spell Yappy is .. Yappy not Yappee dog. I adore this bag and I take my books to school in it. It has a silky soft liner in it too. Adorbs.


Anyway, not bragging. I love to see what other people buy and get so I figure there has to be ONE person out there who does too. Enjoy! Especially, a haul like this when it is more unusual things. She is a gifting genius. Not everyone would love all of this. Anyway, I hope you have a fantastic day and thank you so much for following along.


Easy DIY Wrap Bracelet

This is a DIY wrap bracelet. Yes, it is crochet. Don't panic! There are only two stitches in this and there is a video you can watch to show you the step by step process. If you don't know how to crochet you can go there and follow along! If you know how to crochet the following post is the pattern!


Here they are both wrapped and unwrapped.


It wraps around my 7.5'' wrist four times loose or five snug.


Supplies
Scissors
5mm beads with large holes (any color)
Worsted Weight Yarn (any color)
Tapestry Needle (18)
Button (inch)


Step One: Thread 36 beads (or more if you want it longer. It is about an inch for each bead. So, if you add one extra bead it will be an inch longer.)

Step Two: Chain 6
Step Three: Join with a slip stitch to form a ring like below. Chain one.


 Step Four: Work 12 single crochet into the ring. Join with a slip stitch to the first single crochet.


Step Five: Chain 6. Slide a bead down the yarn until it is snug against your work then secure it with a chain stitch.
Step Six: Chain 3.
Step Seven: Slide a bead down the yarn until it is snug against your work then secure it with a chain stitch.
Step Eight-Thirty Three: Repeat Steps Six and Seven until you are out of beads.


Step Thirty-Four: Cut your yarn (leave a LONG tail when you cut because you are going to sew your button on with this tail) and pull it through your loop creating a knot.

Step Thirty-Five: Thread your needle and sew your button onto the end making sure to wrap some extra yarn around the base of your button to make it more secure. 

Step Thirty-Six: Sew in both tails!

VIOLA! Wear and enjoy your new wrap bracelet.


Wednesday, September 10, 2014

DIY Pink Yarn Bow w/video walk-through

I filmed, edited, and posted a video about the products I have used up. I didn't like it. When I made it, I made it because I thought people expected that kind of video. It was wrong of me and set me off balance. I knew I wasn't taking my YouTube channel in the direction I felt comfortable. I'm not a beauty expert or "beauty guru" by any means. So, I sat down and made of list of things I am an expert in. Two things were at the top. Lipstick and Crochet. The only beauty videos that will ever be on my channel will be about lipstick, that's okay. My YouTube channel is for me and my family and if others like to watch it, that is great too!


Sorry about that long intro! I just want to be clear that anything I post on my channel is there because I want it to be. I do this for fun! These are things I love. There has to be someone out there who loves lipstick AND crochet right? Or at least someone who loves lipstick and wants to LEARN a craft. That works for everyone.

Here is the video walk-through of the DIY PINK YARN BOW (this is crochet... I'll teach you!)

Don't worry! This tutorial walks you through not only how to make it but how to buy your supplies.

SUPPLIES
Scissors
A Tapestry Yarn Needle (not sharp)
A crochet hook that fits your yarn
Yarn (Size 4 Worsted Weight)


1. Buying your yarn! Go to a Walmart or craft store and find the yarn section. Then look at the label. They all have something like this on them. On the far left you can see the little yarn picture with a number FOUR in the middle? That is where you look for the number. They ALL have something like this. This is the size you'll need. There will be a wide variety 1-6. You'll notice right away #1 is TINY thin yarn and #6 is HUGE THICK yarn. We want a #4. Honestly though if you want a smaller yarn it will still WORK. It will just be a MUCH smaller bow.


2. To chose your crochet hook you'll need to look at this same label. The second square over says the knitting needle you'll need for that yarn. The third over has a picture of a crochet hook (a stick with a hook at the end) and it says the SIZE you'll need. For this yarn label it says I need a size I or 9. Here is my I-9 in the picture below. See it says US I9 then the mm that makes it an I-9. Easy as pie. You can buy a SINGLE crochet hook for $1 something or a pack of them.. it doesn't matter. They are super inexpensive like these! Make sure the pack you're buying has the size your yarn needs.


Before I go on let me explain the crochet hook sizes. Just like yarn is a 1 for small and a 6 for large.. crochet hooks get smaller the closer to a size A you get and larger the closer to a size Z you get. You need a specific size hook for each size of yarn because the hook at the END needs to be big enough to HOOK your yarn. If you have a size F crochet hook (small) and try to use it on a size 6 (large) yarn... the yarn will SLIP off. Not saying it can't be DONE! As far as I'm concerned even if you your yarn SAYS it needs a size I... you can use a size H and J just as well. The difference is literally millimeters. That being said if you DO chose to use something smaller the piece you are making will also be smaller. See the example below.


Now I don't remember if I used a different crochet hook on the one above. The hook I used for the one below was an I-9. I also held my yarn SUPER loose while making the below one because I made it on camera LOOKING through my camera so I could see what I was doing. That is why in the video I'm a little STABBY with the crochet hook. Ha ha. The results are the same though. This is the kind of difference you'd have using the wrong crochet hook. It isn't the end of the world.
3. Here is the VIDEO! Follow along!


If you already know how to crochet here is the pattern for this bow

CROCHET PATTERN
1. Begin with a magic circle with a LONG tail (1ft)
2. Chain 2, work 6 triple crochet into the circle, ch 3. sl st into your circle.
3. Repeat step 2.
Pull your beginning tail to tighten your circle and close the hole. Wrap that tail around the middle of your bow to hide this hole. Sew in ends.

If you do make this bow make sure and sent me a picture below in the comments, on instagram, or in the youtube comments! I'd love to see your creations!

Thank you so much for following along!


Friday, December 13, 2013

Monogram Tree Topper Tutorial

I didn't want a star on our tree this year. I wanted a GIANT glitter "G" in honor of our first Christmas as the new mini Gross (our last name) family.

I got the idea from Brooklyn Limestone blog! I just used paint instead of glitter/glue. I found this to be a lot easier and less messy. The bottle of loose glitter was $3 more than the washable paint I purchased. Plus I don't have any spray adhesive... or even Elmer's glue laying around so I would have had to buy some of that as well. I think a did a pretty good job of macgyvering it!

Supplies
Tape (had it)  
Printer Paper (had it)
Printer  (had it)
Scissors (had it)
Newspaper (had it)
Flour (had it)
Water (had it)
Primer or white Paint (I had both of these.)
Tiny Foam brush ($0.40 at Michael's)
Glittery Paint ($4 at Michael's Art Minds Washable Paint in Gold 16 fl oz/473 ml)

1. Print out two of the same letter (size font 250+). Mine is in "Harrington" font (I'm obsessed with this font)


2. Cut them out. (I wouldn't choose something SUPER curlicue. Even what I chose was a pain)


3. Tape them together to make it 3D using paper leftovers. You'll use a lot of tape. This will take time.


4. Tear your newspaper into strips/pieces. Then get out a bowl


5. Mix up the paste you need. Use equal parts flour and water. (I used 1/2cup flour and 1/2cup water. I had tons left over so... use half that amount and you will still have leftovers. I promise.)


6. Dip those pieces in your flour water... flowater.. watour? The sticky mix! Okay don't DIP them per se. Just get enough on your fingers to coat the piece and try and get the rest off and back into the bowl. Just enough to make the paper wet! If you have globbulars of flowater on the pieces it will dry lumpy!


7. COVER your letter! Do so until it is covered with ONE layer. Let it dry. This will take a day... or three depending on how warm/dry/airy your house is. Just test it. It MUST be dry. (It took me TWO days..to be rock hard) This doesn't mean that the letter is indestructible! I tore mine after trying to tear it off the tree. Its still just paper! I had to super glue mine back together.


8. Create a hole in the bottom for the top if your tree! We have a fake tree so the top of my tree has lots of needles. It fit perfectly.


9. After it is all dry and sturdy (don't toss it around like a crazy person. You'll have to super glue it back together like I did. For some reason I thought I had made it out of steel) I got my supplies together for part two. The "G", Primer, Washable Gold Glitter paint, and a foam brush.


10. I actually ran out of spray primer part way through and used white acrylic pain I had laying around to finish covering all the crazy newspaper pictures.


11. This part is important so pay attention. Get the primer spray and white acrylic paint ALL over everything. I promise nothing will work out if you don't.


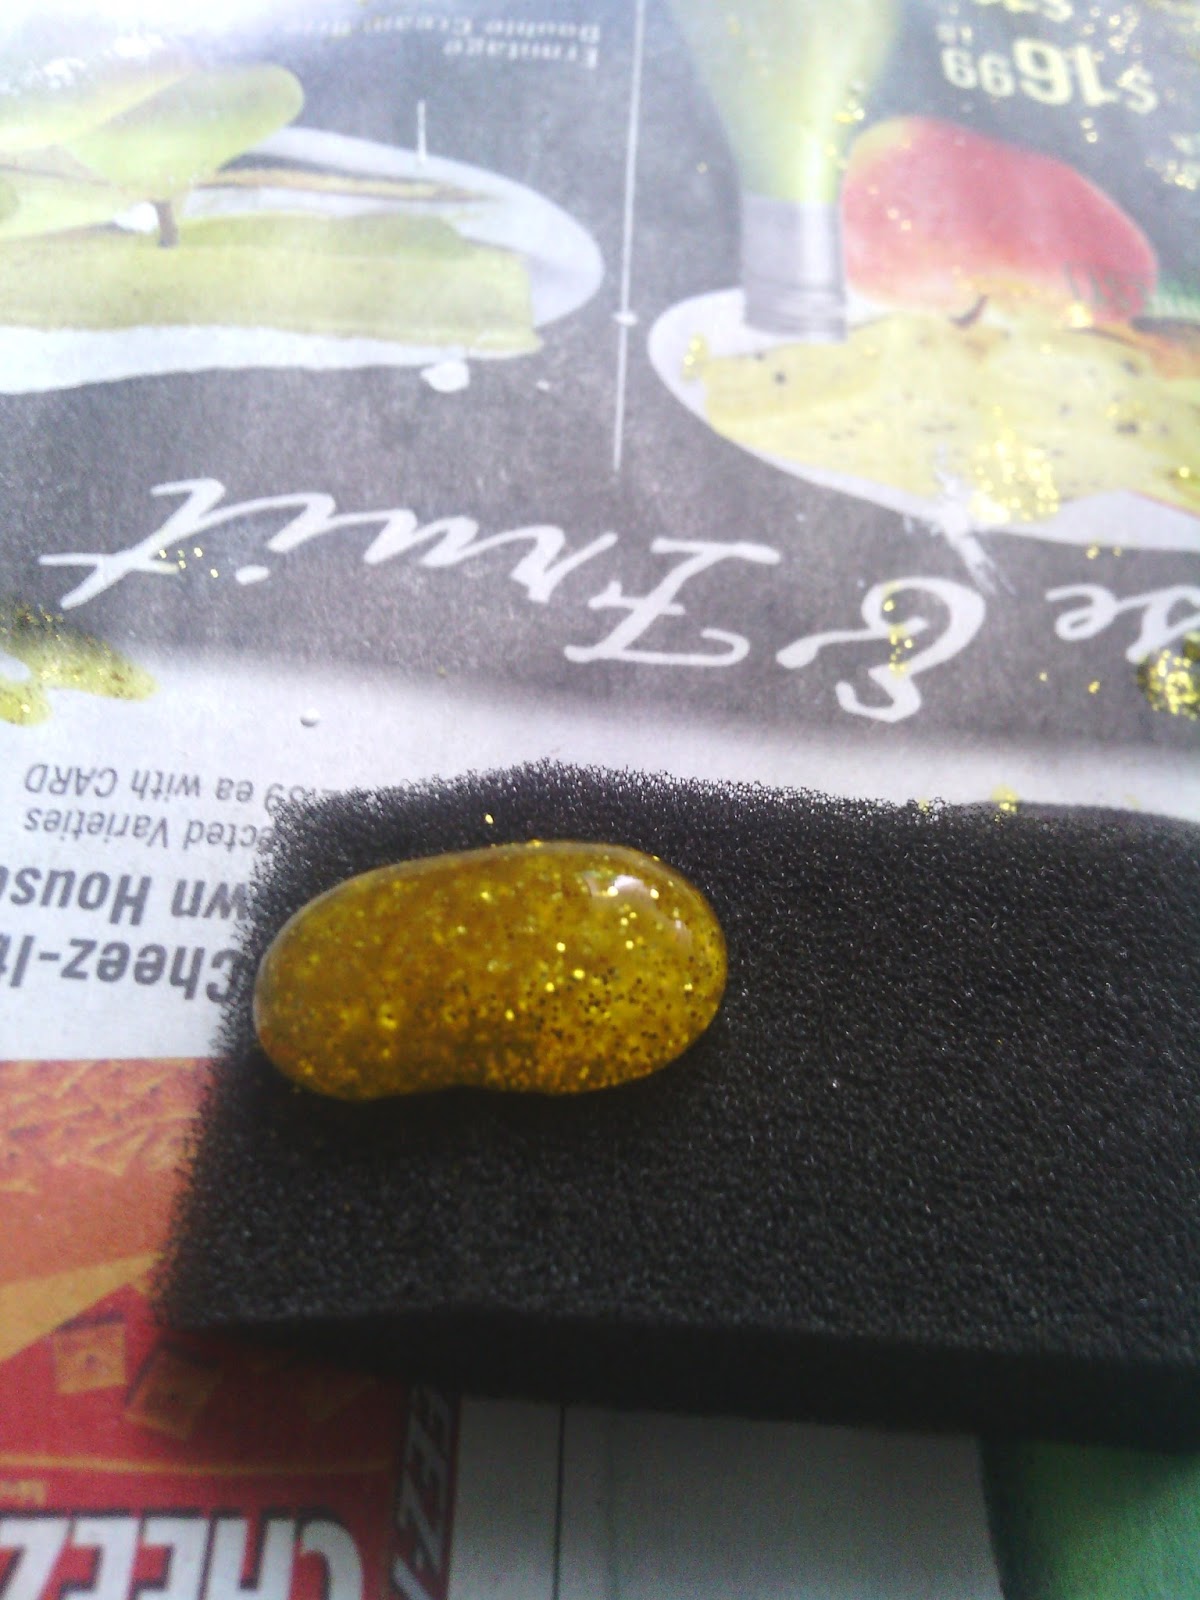
12. I did ONE coat with this paint and it BARELY showed glitter.


13. See. Its like NEON yellow. So I skipped doing it painter style and globbed it on.


14. I just poured a huge glob onto my brush and SLATHERED the stuff on.


15. It dries really fast. So I just globbed it on one side and let it dry. Turned it over and globbed it on and let it dry. Etc.... it took two days. I like it. No glitter mess. No fuss. No bowl of glitter that I have to pour back into a glitter receptacle... I don't waste. Plus it was dark and glittery.


16. TA DAAAAAAAA! Perfection.


Click HERE to see my WHOLE tree with the glitter "G" on it! In a post about how to take a picture of your finished Christmas tree with a point and shoot camera!

A Very Merry Holiday to you and yours! Thank you so much for following along.