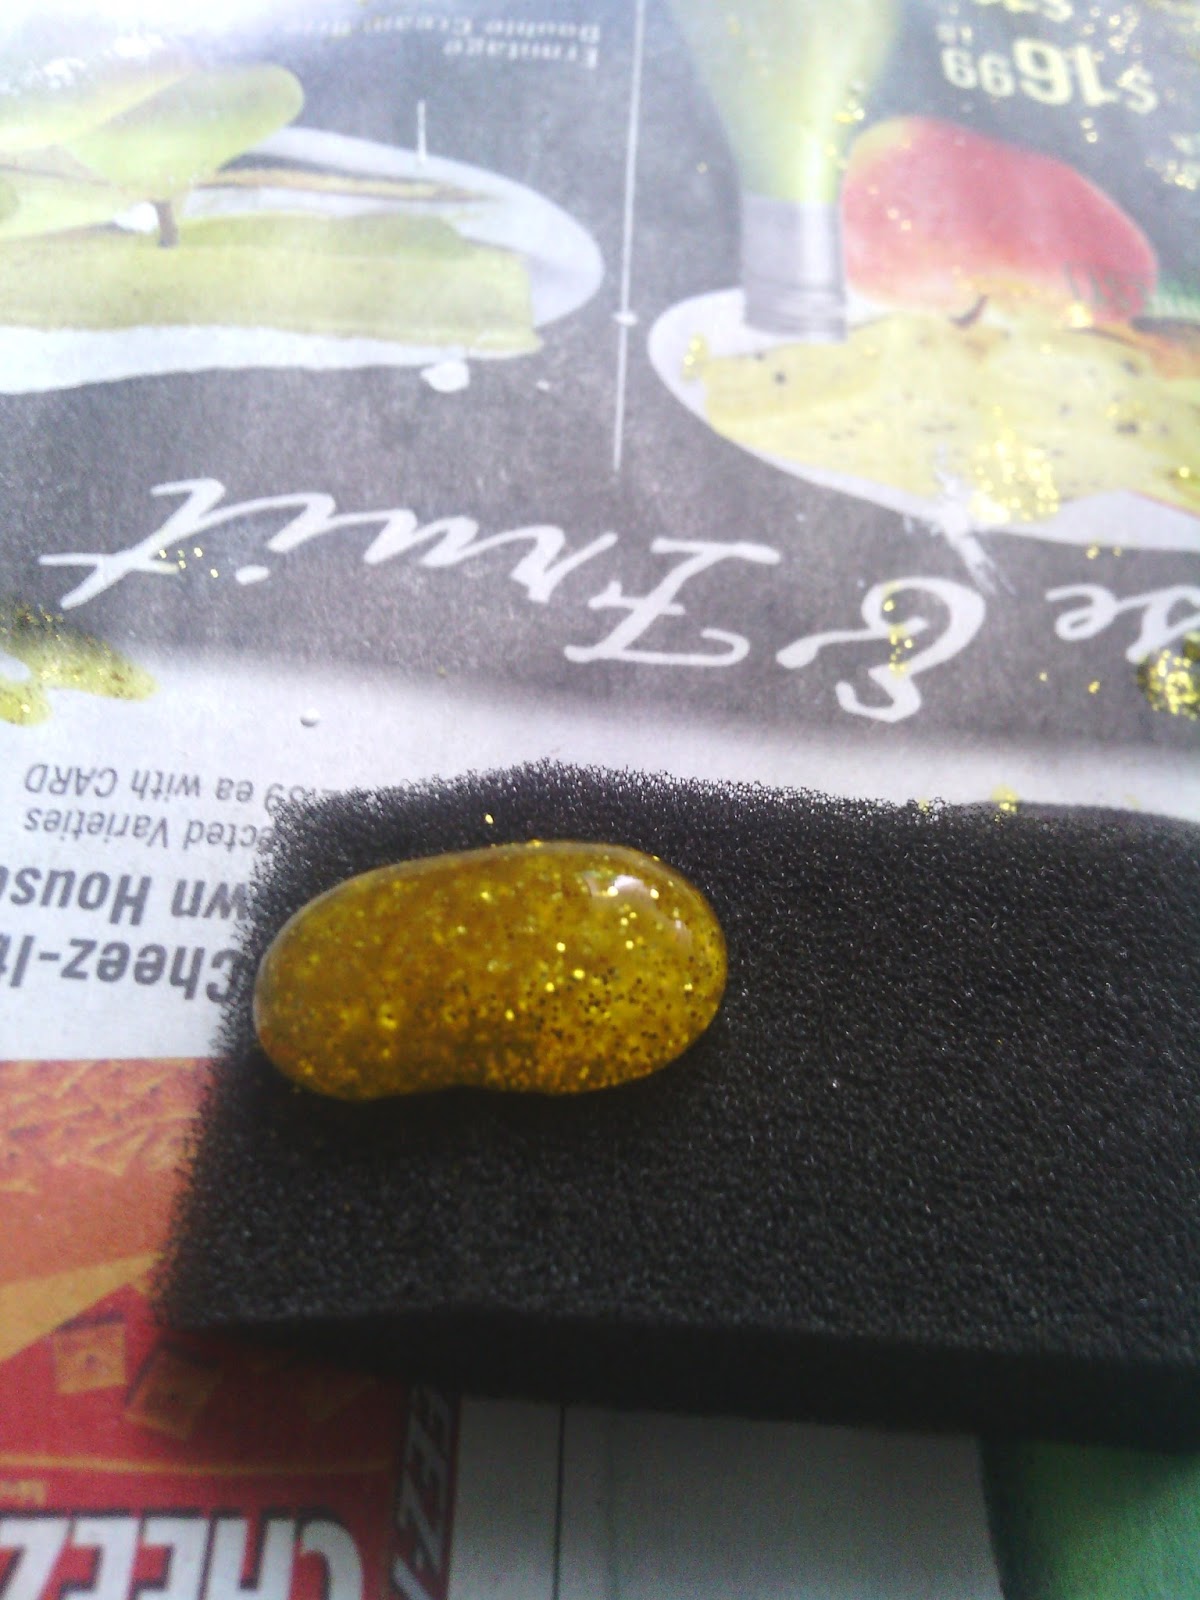
I got the idea from Brooklyn Limestone blog! I just used paint instead of glitter/glue. I found this to be a lot easier and less messy. The bottle of loose glitter was $3 more than the washable paint I purchased. Plus I don't have any spray adhesive... or even Elmer's glue laying around so I would have had to buy some of that as well. I think a did a pretty good job of macgyvering it!
Supplies
Tape (had it)
Printer Paper (had it)
Printer (had it)
Scissors (had it)
Newspaper (had it)
Flour (had it)
Water (had it)
Primer or white Paint (I had both of these.)
Tiny Foam brush ($0.40 at Michael's)
Glittery Paint ($4 at Michael's Art Minds Washable Paint in Gold 16 fl oz/473 ml)
1. Print out two of the same letter (size font 250+). Mine is in "Harrington" font (I'm obsessed with this font)
3. Tape them together to make it 3D using paper leftovers. You'll use a lot of tape. This will take time.
8. Create a hole in the bottom for the top if your tree! We have a fake tree so the top of my tree has lots of needles. It fit perfectly.
10. I actually ran out of spray primer part way through and used white acrylic pain I had laying around to finish covering all the crazy newspaper pictures.
11. This part is important so pay attention. Get the primer spray and white acrylic paint ALL over everything. I promise nothing will work out if you don't.
12. I did ONE coat with this paint and it BARELY showed glitter.
13. See. Its like NEON yellow. So I skipped doing it painter style and globbed it on.
14. I just poured a huge glob onto my brush and SLATHERED the stuff on.
15. It dries really fast. So I just globbed it on one side and let it dry. Turned it over and globbed it on and let it dry. Etc.... it took two days. I like it. No glitter mess. No fuss. No bowl of glitter that I have to pour back into a glitter receptacle... I don't waste. Plus it was dark and glittery.
16. TA DAAAAAAAA! Perfection.
Click HERE to see my WHOLE tree with the glitter "G" on it! In a post about how to take a picture of your finished Christmas tree with a point and shoot camera!
A Very Merry Holiday to you and yours! Thank you so much for following along.


No comments:
Post a Comment