Showing posts with label paper. Show all posts

Thursday, December 26, 2013

8 Advent Calendars and Christmas

I'm so nosy. WHAT did you get for Christmas? I have no idea why I would like to know. I like to say its because it is how I collect ideas for others presents. Ha.

I loved giving out both bought and made gifts this year.We gave a gift card, a Christmas nativity scene and some crochet gloves for example.


(These are not available in my store at the moment. After the holidays perhaps.)
If you are a Crocheter though you can find the pattern by YarnBlossomBoutique HERE

Here is a little collage of what I got my husband. Not a huge Christmas this year because of car troubles, college costs, and starting a new job cost me $144... but that is for a different post.


1. A drawing print for Bill Murray and Dan Aykroyd from Ghostbusters (his favorite movie) HERE
2. A t-shirt that says "With great beard comes great responsibility (he has a beard and always will) HERE
3. Metalworks 3D laser cut models. They send you the sheets and they make tiny metal models. They have a variety of different shapes. I chose to get Gerry "The Black Pearl" he loves it and is almost finished making it. They are for children but make great little stocking stuffers. HERE

What I wish we had done this year? Get an advent calendar with opening doors. I made this one.


Which was nice. I like the way it turned out. You can purchase them from OhHelloMagpie HERE. I took inspiration from their picture to make mine.

At the same time though.. I like opening the little doors. I CRAVE it. There are a lot of DIY advent calendars but.. that doesn't help me does it? I'd be the one to make it. I was lured inspired to get an advent calendar by the vlogger (during her vlogmas videos) Zoella. She had FIVE to open every day. JEALOUSSSSS.

There are a lot of different kinds of advent calendars. Here is a list of 8 I wouldn't mind getting for us to open next year.


1. A DIY one that you've had bought purhaps? Still appeals to your DIY self. They have a nice selection on Etsy.  (The picture I used is from Shim&Sons blog. It is a tutorial in case you wanted to make one of these FOR me someone.)
2. Ciaté 'Mini Mani' Set advent calendar ($58) 25 NAILPOLISHES! (which is a $168 value!)
3. The coveted Benefit Countdown to Love advent calendar ($68) Which is an assortment of different beauty products.
4. David's Tea ($30) makes this adorable advent calendar full of a variety of teas. Each day is one cup of tea.


1. Freedom Advent Calendar ($56) JEWELRY ♥ Can you imagine? Rings, earrings, necklaces, and bracelets... the possibilities.
2. Whimsical Woodland Advent Cabin!($79.95) While this one is on the super spendy side. There is a plus. This is more of a "make a tradition" advent calendar. Something you keep. Inside each door is a little woodland creature. This would go great with a Christmas town set up. I adore it. Especially the little cabin front. I like that the back is where the bulk of the doors are. The front door is the extra special 25th surprise!
3. La Maison du Chocolat Advent Calendar ($50) gourmet chocolate.. if you are going to do chocolate. Do it right. Just take a look at their website. Ganaches, pralines...heaven.
4. Playmobil Princess Advent Calendar ($24.99) This is one of the things Zoella had. Click on her name to watch her Vlogmas for December 2013 and open all the doors and put it together! SUPERCUTE. Not even sure why I want this.

Well there you have it folks. Advent calendars. A delight. I want to get TWELVE and just open ONE each month and pretend there is something special going on on the 25th of each month.

I'll be back for a post about NEW YEARS resolutions!

Thank you so much for following along!


Friday, December 13, 2013

Monogram Tree Topper Tutorial

I didn't want a star on our tree this year. I wanted a GIANT glitter "G" in honor of our first Christmas as the new mini Gross (our last name) family.

I got the idea from Brooklyn Limestone blog! I just used paint instead of glitter/glue. I found this to be a lot easier and less messy. The bottle of loose glitter was $3 more than the washable paint I purchased. Plus I don't have any spray adhesive... or even Elmer's glue laying around so I would have had to buy some of that as well. I think a did a pretty good job of macgyvering it!

Supplies
Tape (had it)  
Printer Paper (had it)
Printer  (had it)
Scissors (had it)
Newspaper (had it)
Flour (had it)
Water (had it)
Primer or white Paint (I had both of these.)
Tiny Foam brush ($0.40 at Michael's)
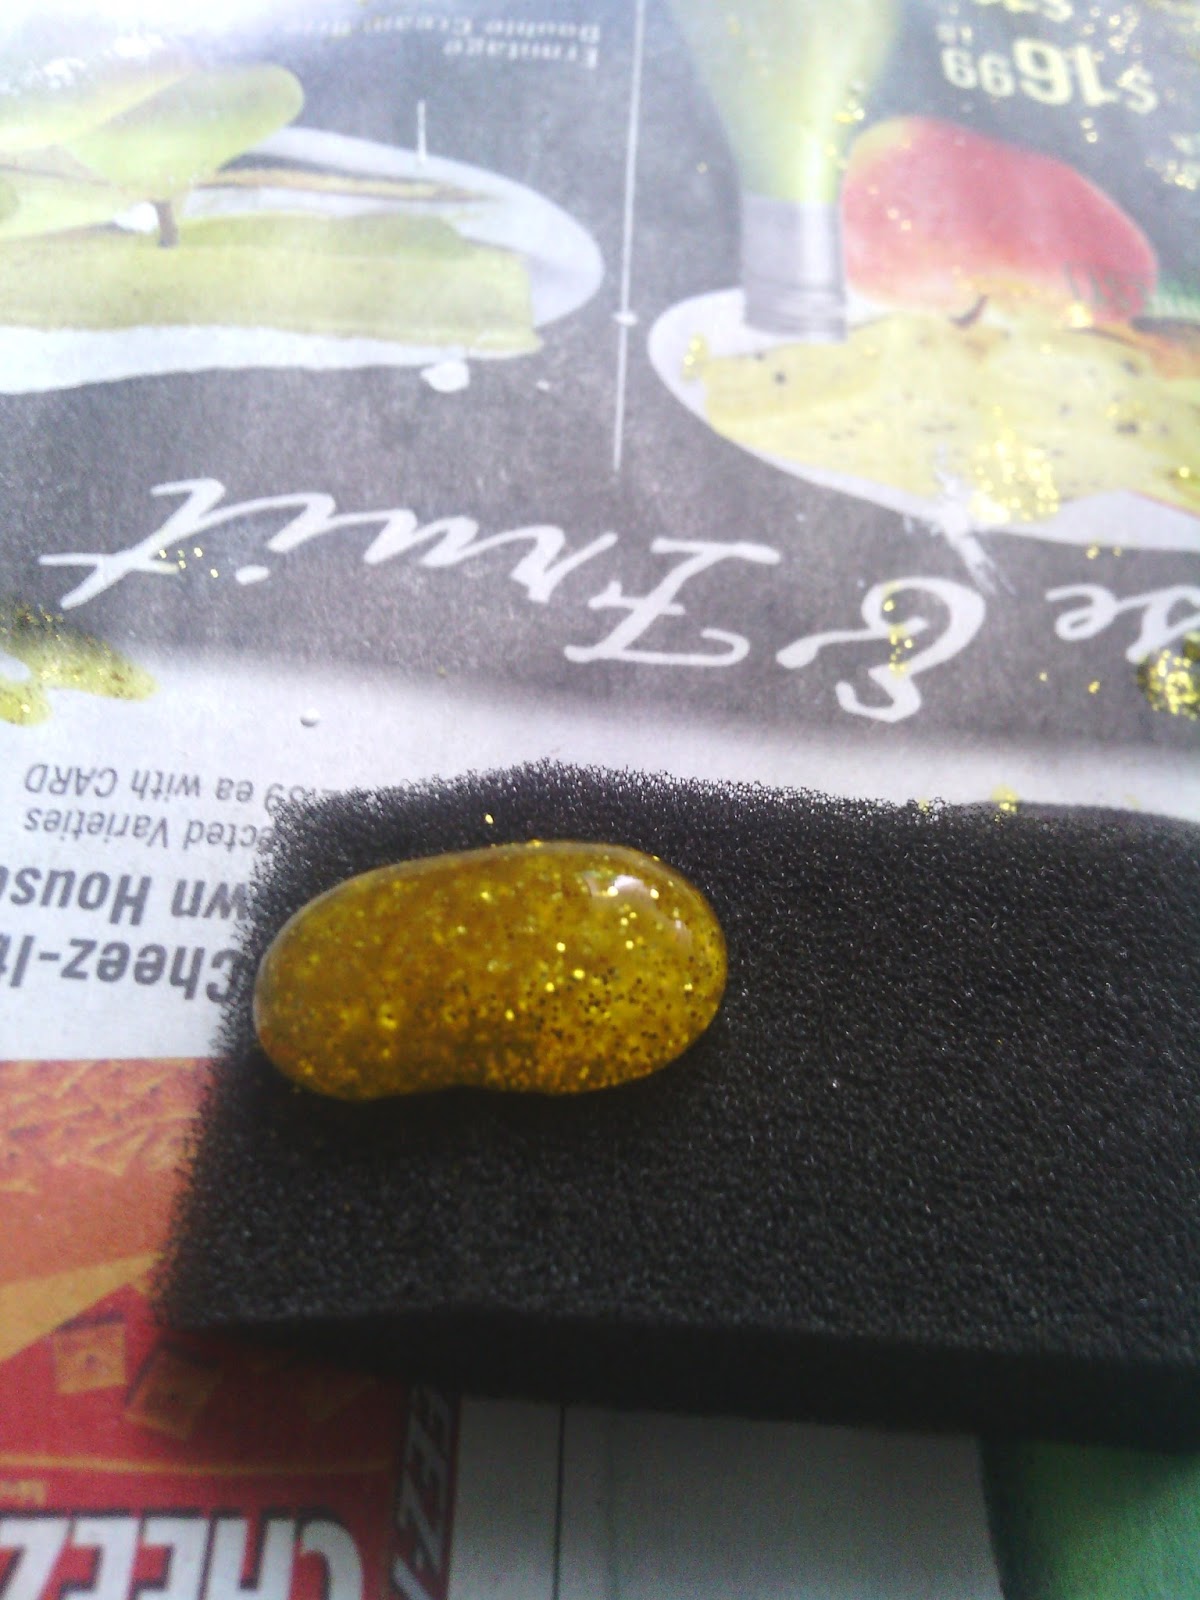
Glittery Paint ($4 at Michael's Art Minds Washable Paint in Gold 16 fl oz/473 ml)

1. Print out two of the same letter (size font 250+). Mine is in "Harrington" font (I'm obsessed with this font)


2. Cut them out. (I wouldn't choose something SUPER curlicue. Even what I chose was a pain)


3. Tape them together to make it 3D using paper leftovers. You'll use a lot of tape. This will take time.


4. Tear your newspaper into strips/pieces. Then get out a bowl


5. Mix up the paste you need. Use equal parts flour and water. (I used 1/2cup flour and 1/2cup water. I had tons left over so... use half that amount and you will still have leftovers. I promise.)


6. Dip those pieces in your flour water... flowater.. watour? The sticky mix! Okay don't DIP them per se. Just get enough on your fingers to coat the piece and try and get the rest off and back into the bowl. Just enough to make the paper wet! If you have globbulars of flowater on the pieces it will dry lumpy!


7. COVER your letter! Do so until it is covered with ONE layer. Let it dry. This will take a day... or three depending on how warm/dry/airy your house is. Just test it. It MUST be dry. (It took me TWO days..to be rock hard) This doesn't mean that the letter is indestructible! I tore mine after trying to tear it off the tree. Its still just paper! I had to super glue mine back together.


8. Create a hole in the bottom for the top if your tree! We have a fake tree so the top of my tree has lots of needles. It fit perfectly.


9. After it is all dry and sturdy (don't toss it around like a crazy person. You'll have to super glue it back together like I did. For some reason I thought I had made it out of steel) I got my supplies together for part two. The "G", Primer, Washable Gold Glitter paint, and a foam brush.


10. I actually ran out of spray primer part way through and used white acrylic pain I had laying around to finish covering all the crazy newspaper pictures.


11. This part is important so pay attention. Get the primer spray and white acrylic paint ALL over everything. I promise nothing will work out if you don't.


12. I did ONE coat with this paint and it BARELY showed glitter.


13. See. Its like NEON yellow. So I skipped doing it painter style and globbed it on.


14. I just poured a huge glob onto my brush and SLATHERED the stuff on.


15. It dries really fast. So I just globbed it on one side and let it dry. Turned it over and globbed it on and let it dry. Etc.... it took two days. I like it. No glitter mess. No fuss. No bowl of glitter that I have to pour back into a glitter receptacle... I don't waste. Plus it was dark and glittery.


16. TA DAAAAAAAA! Perfection.


Click HERE to see my WHOLE tree with the glitter "G" on it! In a post about how to take a picture of your finished Christmas tree with a point and shoot camera!

A Very Merry Holiday to you and yours! Thank you so much for following along.